On an instrumentation table, a poorly reprocessed speculum or biopsy forceps can transmit pathogens from one patient to another in just a few seconds. The success of the medical equipment disinfection protocol relies less on theoretical knowledge of the steps than on their rigorous execution, without shortcuts, in a precise order. Each link in the chain conditions the effectiveness of the next, and an error at the cleaning stage can render the final disinfection completely ineffective.
Pre-cleaning of instruments: a constraint that cannot be bypassed
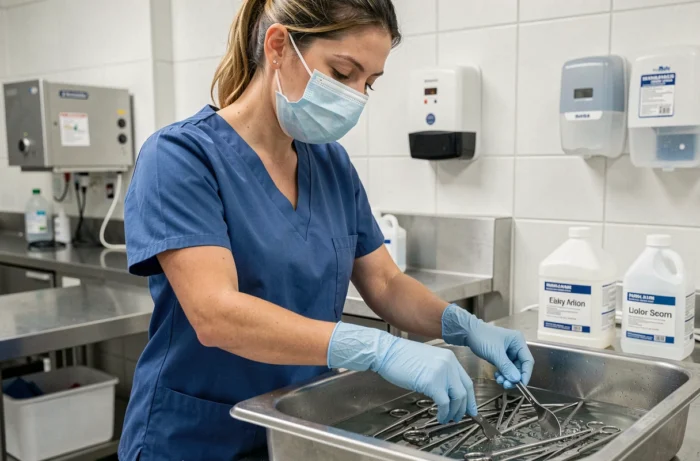
We always start with pre-cleaning, sometimes referred to as pre-disinfection. This step involves immersing reusable medical devices in a bath of detergent-disinfectant solution immediately after use. The goal is not to disinfect per se, but to prevent the drying of biological contaminants (blood, secretions) on the surfaces.
In practice, the shorter the time between use and immersion, the more effective the subsequent treatment will be. Dry organic residues form a biofilm that protects microorganisms and prevents chemical agents from reaching their target. This is why immediate pre-cleaning conditions the entire reprocessing chain.
When following the medical equipment disinfection protocol in its complete form, it becomes clear that this initial immersion is not optional. The NIH reminds us that prior cleaning is a prerequisite for any decontamination.
Cleaning and rinsing: contact time and water quality
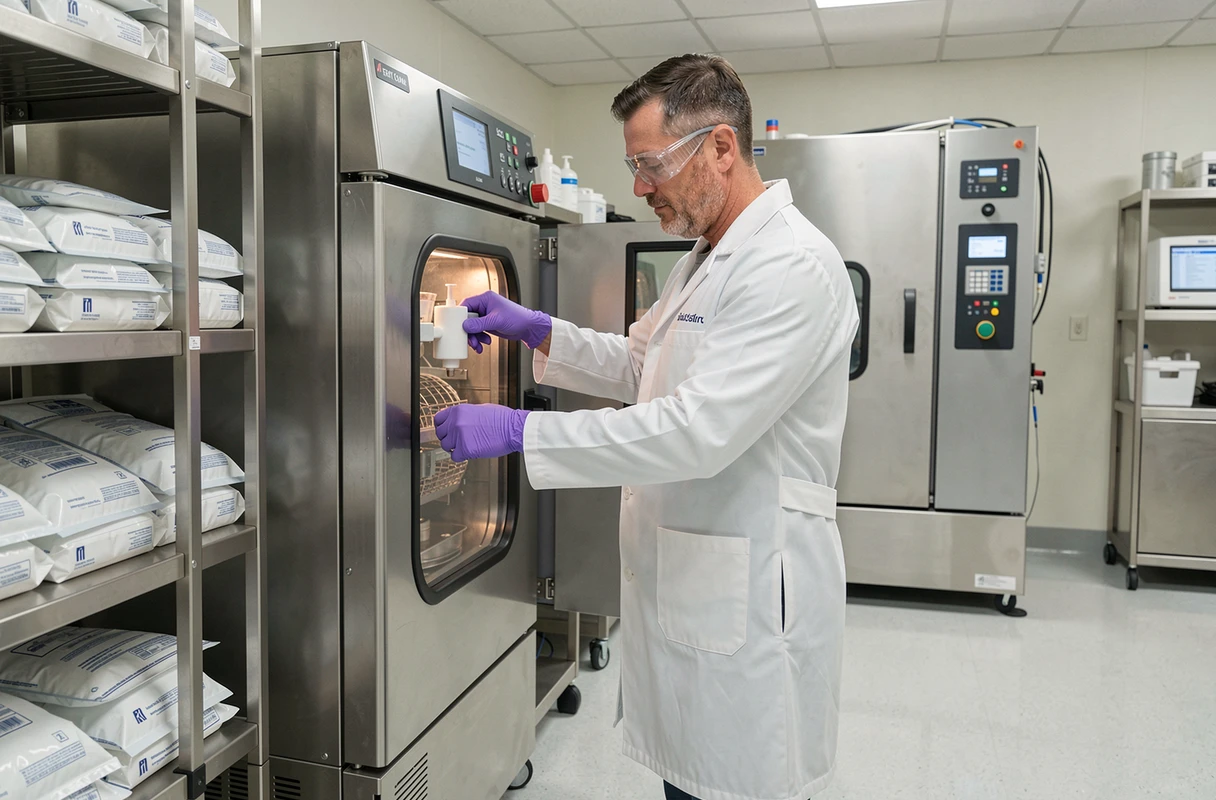
After the initial soaking, we move on to the actual cleaning. We scrub, we brush, we use an appropriate detergent to mechanically remove any trace of organic material. Articulated instruments (forceps, surgical scissors) require special attention: hinges and grooves are retention areas where contaminants accumulate.
A visually clean instrument is not necessarily microbiologically clean. Manual cleaning must be methodical, and the use of ultrasonic baths can complement brushing on devices with complex geometries.
The subsequent rinsing deserves equal rigor. We use water of appropriate quality to eliminate any residue of detergent. Insufficient rinsing leaves chemical traces that can interfere with subsequent disinfection or sterilization, or even cause reactions in the patient upon contact with the instrument.
Drying before disinfection: a often neglected point
Drying is often underestimated. A wet instrument dilutes the disinfectant in which it will later be immersed, reducing the active concentration of the product. Air drying or using a clean, lint-free cloth prepares the surface to receive the chemical treatment under optimal conditions.
Disinfection of medical equipment: choosing the right level of treatment
Not all devices require the same level of disinfection. The classification is based on the type of contact with the patient:
- Instruments that penetrate sterile tissues or the vascular system (so-called critical equipment) require sterilization, usually by steam autoclave.
- Devices in contact with mucous membranes or broken skin (semi-critical equipment) require at least high-level disinfection.
- Equipment in contact with intact skin (sphygmomanometers, stethoscopes) is treated by cleaning followed by low-level disinfection.
This hierarchy determines the choice of product, soaking duration, and method employed. Applying an inappropriate treatment for the risk level exposes to nosocomial infections.
Contact time: the surface must remain wet
Recent protocols emphasize a often overlooked control point: the surface of the instrument must remain visibly wet for the entire contact time recommended by the disinfectant manufacturer. Wiping or allowing the product to dry before the end of the prescribed time interrupts the biocidal action. Feedback varies on this point depending on the products, but the rule remains the same: adhere to the duration indicated on the technical data sheet, without exception.
Operational traceability and control after autoclaving
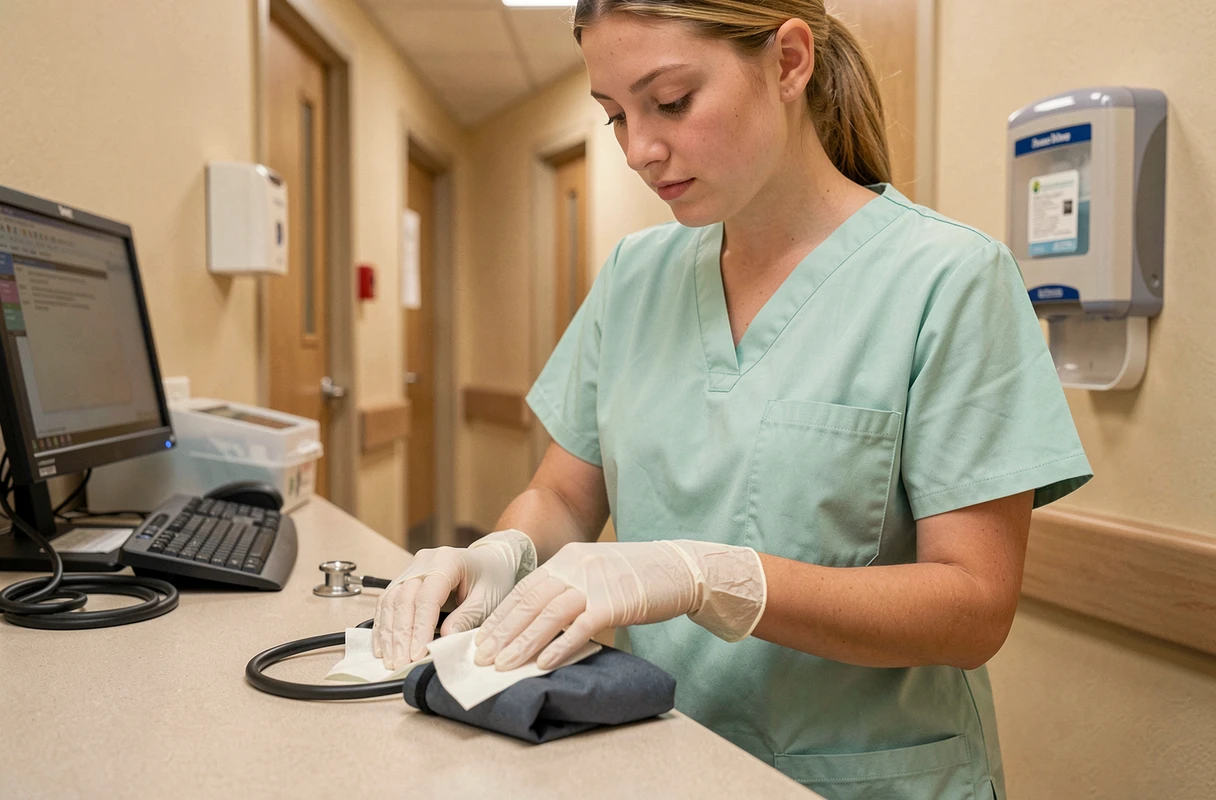
Disinfection or sterilization does not stop at the exit of the basin or autoclave. Each cycle must be checked and documented. Specifically, operational traceability includes:
- Recording the cycle parameters (temperature, pressure, duration) on the autoclave or thermo-disinfector report.
- Visual inspection of the integrity of the packaging (pouches, sterilization sleeves) after treatment.
- Verification of physico-chemical indicators (integrators, indicator tapes) that confirm that sterilization conditions have been met.
- Archiving data to ensure traceability in case of incident or audit.
An undocumented cycle is equivalent to a cycle not performed from a regulatory standpoint. This requirement applies to both private practices and centralized sterilization services in healthcare facilities.
Storage of devices after sterilization
Sterile packaging has a validity period that depends on storage conditions. A punctured pouch, exposed to moisture, or handled carelessly loses its sterility guarantee. Instruments are stored in a dry area, protected from dust, and the integrity of the packaging is checked before each use.
The rigor of the reprocessing chain is not measured by the most complex step, but by the weakest step. Negligent cleaning makes steam autoclaving less reliable. Poorly controlled storage negates the benefits of a perfectly conducted cycle. Each step protects the next, and it is this continuity that ensures patient safety.