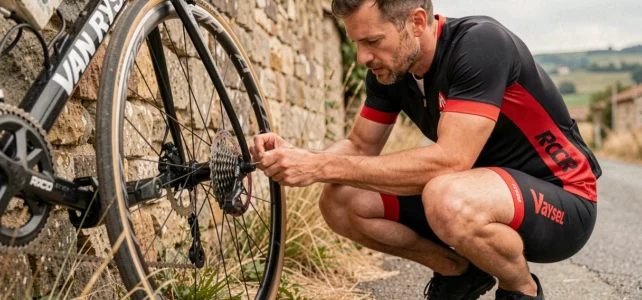
You have been riding a RCR Pro Van Rysel for a few weeks and feel there is room for improvement. The carbon frame is efficient, the electronic transmission responds instantly, but a few adjustments and component choices can transform your sensations on the road. Here are the concrete levers to get the best out of this bike.
Switching to tubeless on the RCR Pro: the most accessible gain
Have you noticed that your Swiss Side wheels come with Continental TPU tubes? This original setup works well, but it overlooks an option that Van Rysel explicitly recommends: the conversion to tubeless with the valves provided originally.
The principle is simple. Without an inner tube, the tire conforms better to the road. Micro-vibrations are absorbed instead of being transmitted to the frame. Efficiency improves because the tire deformation is more uniform, without the tube-tire friction that consumes watts.
Having both TPU tubes and tubeless valves in the same box allows you to compare the two configurations on your usual routes. Many owners notice a significant comfort gain on damaged roads and superior traction during acceleration. This is the first area where improving the performance of your RCR Pro Van Rysel requires neither a substantial budget nor advanced mechanical skills.
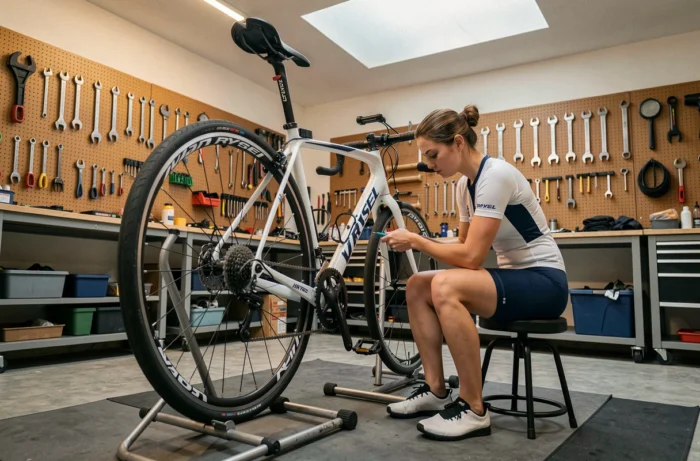
Tire pressure and cyclist weight: the adjustment many neglect
Switching to tubeless is not enough if the pressure is poorly calibrated. Too many cyclists inflate their tires to the maximum pressure indicated on the sidewall, thinking that “hard = fast.” In reality, a pressure suited to the cyclist’s weight improves both grip and efficiency.
The reasoning is counterintuitive. An overinflated tire bounces over every bump instead of rolling over it. The energy lost in vertical vibrations is greater than that saved by the reduced deformation of the tire.
To find the right pressure, start with your equipped weight (cyclist + bike + bottle + bag). Tire manufacturers publish matching tables. In tubeless setups, the recommended pressure is generally lower than with tube setups, which enhances comfort.
Weather conditions and type of route
The ideal pressure also varies according to the weather. On wet roads, slightly lowering the pressure increases the contact surface and safety in turns. On a very smooth and dry route, you can increase the pressure by a few tenths of a bar without losing comfort.
RCR-R Pro or RCR-F: adjusting the setup to the ride profile
Van Rysel now segments its models with precise recommendations. The RCR-R Pro is designed for rides with significant elevation, typically over 1,500 m of positive elevation over 100 km, at average speeds between 25 and 35 km/h. The RCR-F targets flatter routes, at speeds between 35 and 50 km/h.
Why does this distinction matter for your adjustments? Because the position on the bike, saddle height, and handlebar tilt do not respond to the same constraints whether you spend three hours in the mountains or two hours on flat, windy terrain.
Saddle height and torque on the RCR Pro
On the RCR Pro, the clamp screw for the seat post is located in front of it, under a liftable cap. The torque wrench is included in the accessory box. Adhere to the specified torque to avoid damaging the carbon.
Over-tightening crushes the fibers of the tube. Under-tightening allows the saddle to slip under pressure, especially when standing in climbs. The correct adjustment is verified by pressing firmly down on the saddle: it should neither move nor creak.
- Apply carbon grease to the seat tube before insertion; the one provided in the unboxing box works perfectly.
- Check the torque with a torque wrench, not by feel.
- Check the saddle height after the first rides; carbon does not compress, but initial adjustments can sometimes shift under repeated vibrations.
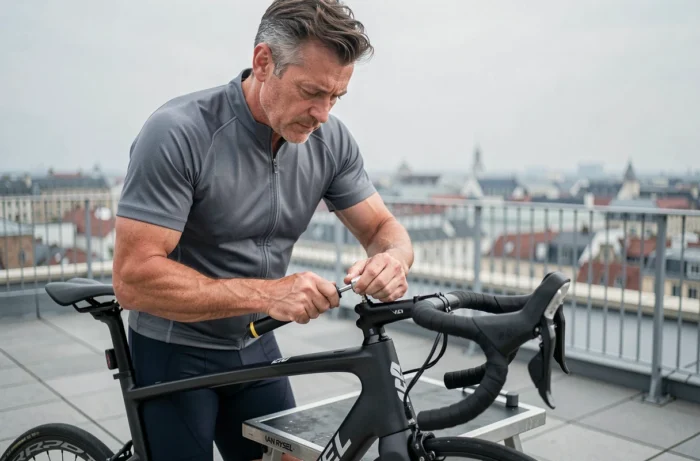
Handlebar and stem of the RCR Pro: tightening and aerodynamic position
The combo handlebar of the RCR Pro arrives unlocked in the box. The assembly requires a cross tightening at 5 N.m, with equal spacing at the top and bottom once tightened. This technical detail has a direct impact on the reliability of the cockpit.
A poorly tightened handlebar can rotate under hard braking. A handlebar that is too tight creates a stress point on the carbon, which risks cracking over time. A torque wrench is not an optional accessory on a carbon bike; it is a safety tool.
Adjusting position for aerodynamic gains
If you regularly ride over 30 km/h, air resistance becomes the main brake. Slightly lowering the handlebar (by removing a spacer under the stem) reduces the frontal area exposed to the wind.
Be careful: every additional centimeter of drop increases the load on the hands and shoulders. Proceed in increments of a few millimeters, ride several outings at each stage, and revert if any pain arises. The best aerodynamics is the one you can maintain throughout the ride.
Maintenance of Shimano Di2 or SRAM AXS transmission on the RCR Pro
The RCR Pro is available in Shimano Ultegra Di2, Dura-Ace Di2, and SRAM Force AXS versions. With an electronic transmission, mechanical maintenance is reduced, but not non-existent.
- Clean the chain after each ride in the rain. A dirty chain consumes several watts of power due to friction.
- Check the wear of the cassette and chainrings; even on a high-end group, replacement eventually becomes necessary.
- Recharge the derailleur battery before it drops below 20%; shifting becomes imprecise at low battery levels.
- Check the bedding of the brake pads during the first rides: unbedded pads reduce braking power and may produce noise.
A well-adjusted and well-maintained RCR Pro delivers all the power you put into the pedals. The gains accumulate: tubeless, suitable pressure, refined position, clean transmission. None of these levers are expensive, but their combination transforms the bike’s behavior over several dozen kilometers.